Exercise 04 (tutorial)
- Eduardo Durão Antunes

- Mar 19, 2025
- 1 min read
Updated: Mar 26, 2025
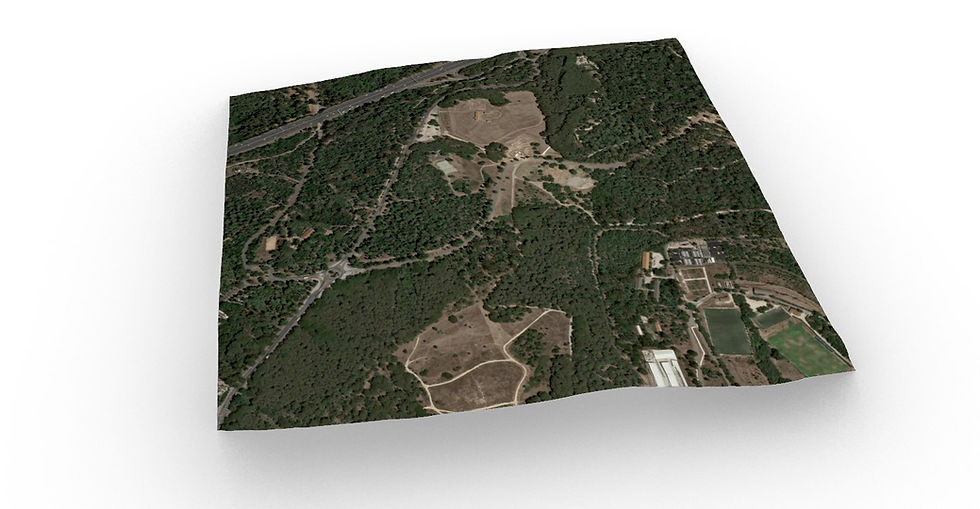
Insert satellite image on the terrain
NOTES:
This exercise is carried out on the .3dm file resulting from Exercise 03;
This file must include, at least, the finished terrain in its own layer (for example, "FINAL Terrain") and the 2D boundary of the terrain ("AUX" layer of the original file);
Caso não tenham o limite 2D, poderão fazer 'bake' do código .gh do EX03;
For this exercise, you need to download the satellite images, available in the "Downloads" section of the website;
At the end, you should save the final result as EX04-STUDENTNUMBER-STUDENTNAME.3dm (replace the data with yours);
STEPS:
Modify the material of the layer where the terrain is inserted (for example "FINAL Terrain");
In the bar where the layers are shown, select the desired layer and click on the ball that appears in the 'Material' section;

Select 'Image' as the material type (Type > Picture);
Choose one of the available images;
'ApplyPlanarMapping' command to correctly apply the image;
Select the terrain > press 'Enter'
Select the lower left corner of the 2D Limit square;
Select the top right corner of the same square;
"UV" > 'Enter'
"1" > 'Enter'
Comments